Start with a render whose design and composition are already approved. Maquete’s 2× Enhance workflow improves realism and fine surface detail while increasing the image resolution. Review the result against the input: enhancement is generative, so a sharper image is not automatically a more accurate one.
Choose the right operation
| What needs to change? | Where to start |
|---|---|
| Natural detail and finish in an approved image | 2× Enhance |
| A specific material, object or visible error | Adjust and a focused correction brief |
| Time of day or atmosphere | A lighting or mood adjustment |
| Camera position or building layout | Revise the source model and render again |
| A tighter presentation view | A detail workflow, with another design check |
The names matter because these operations solve different problems. A population edit that adds a person is not evidence of resolution enhancement. A new lighting treatment may improve a presentation while changing much more than surface detail.
A practical enhancement workflow
- Approve the input first. Check the camera, openings, geometry and material intent. Save the original file so the comparison is reversible.
- Open 2× Enhance for the image. Review the operation and any cost displayed in your account before confirming. The dedicated 2× workflow is different from selecting a 4K output in another tool.
- Compare at delivery size. Examine the original and output at comparable display scales. Inspect fine joints, handles, edge sharpness, textiles, foliage and reflections.
- Keep the version that represents the project. Reject an output that adds convincing but incorrect details. Preserve both versions in your project records.
Existing examples of other edits
The following pair shows a deliberate powder-room lighting change. It illustrates the difference between changing the image’s atmosphere and enhancing its resolution; it is not a 2× enhancement benchmark.
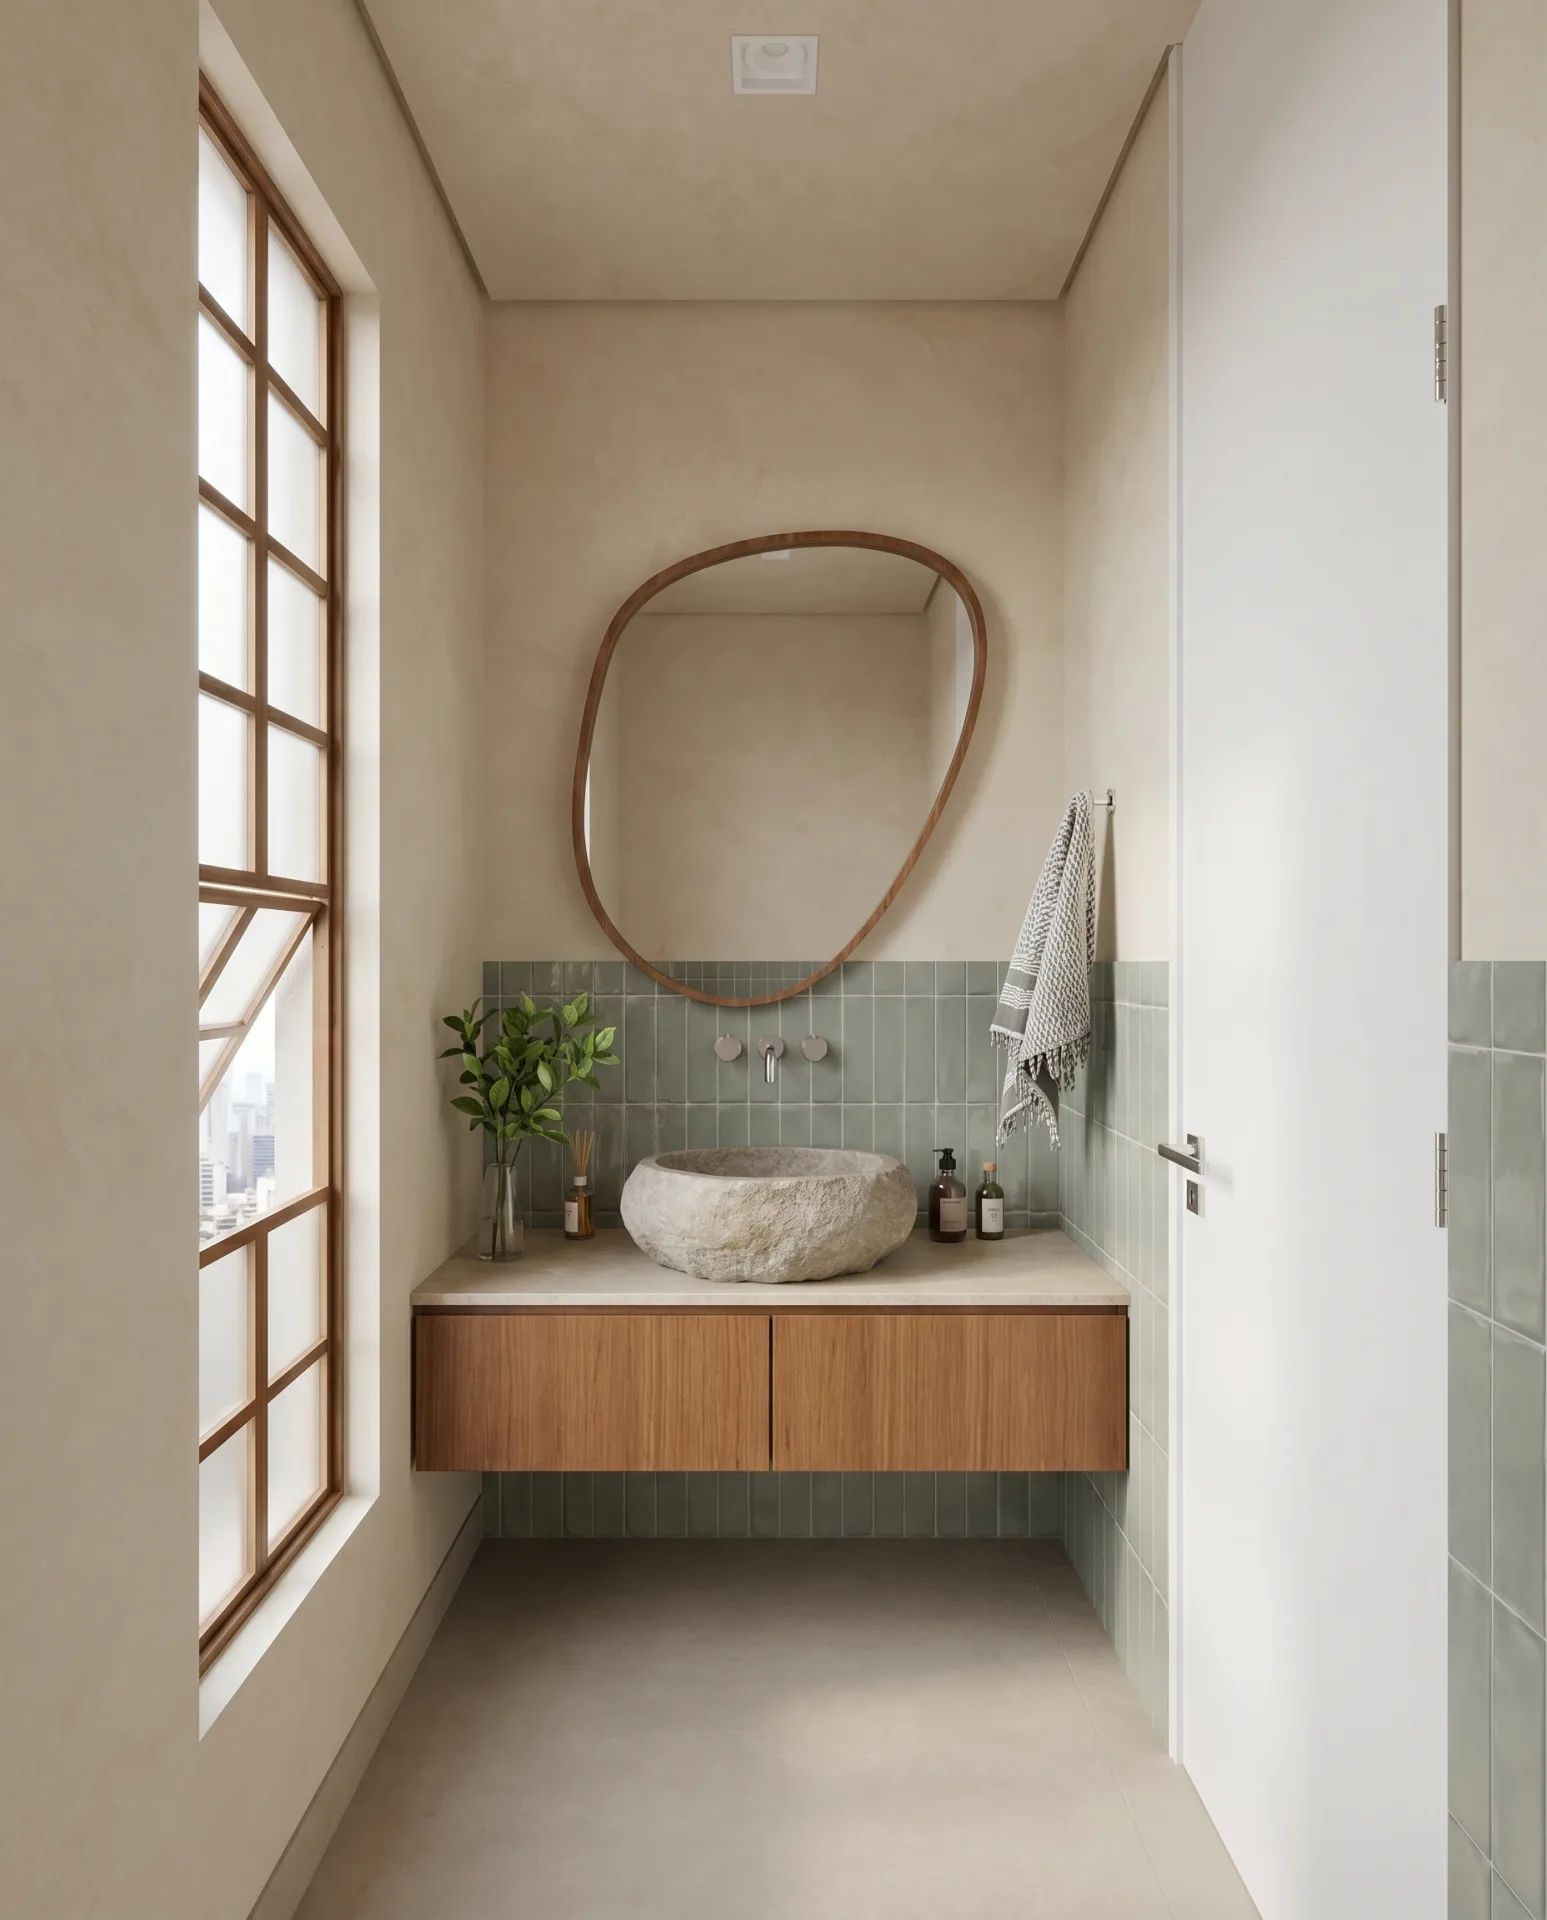
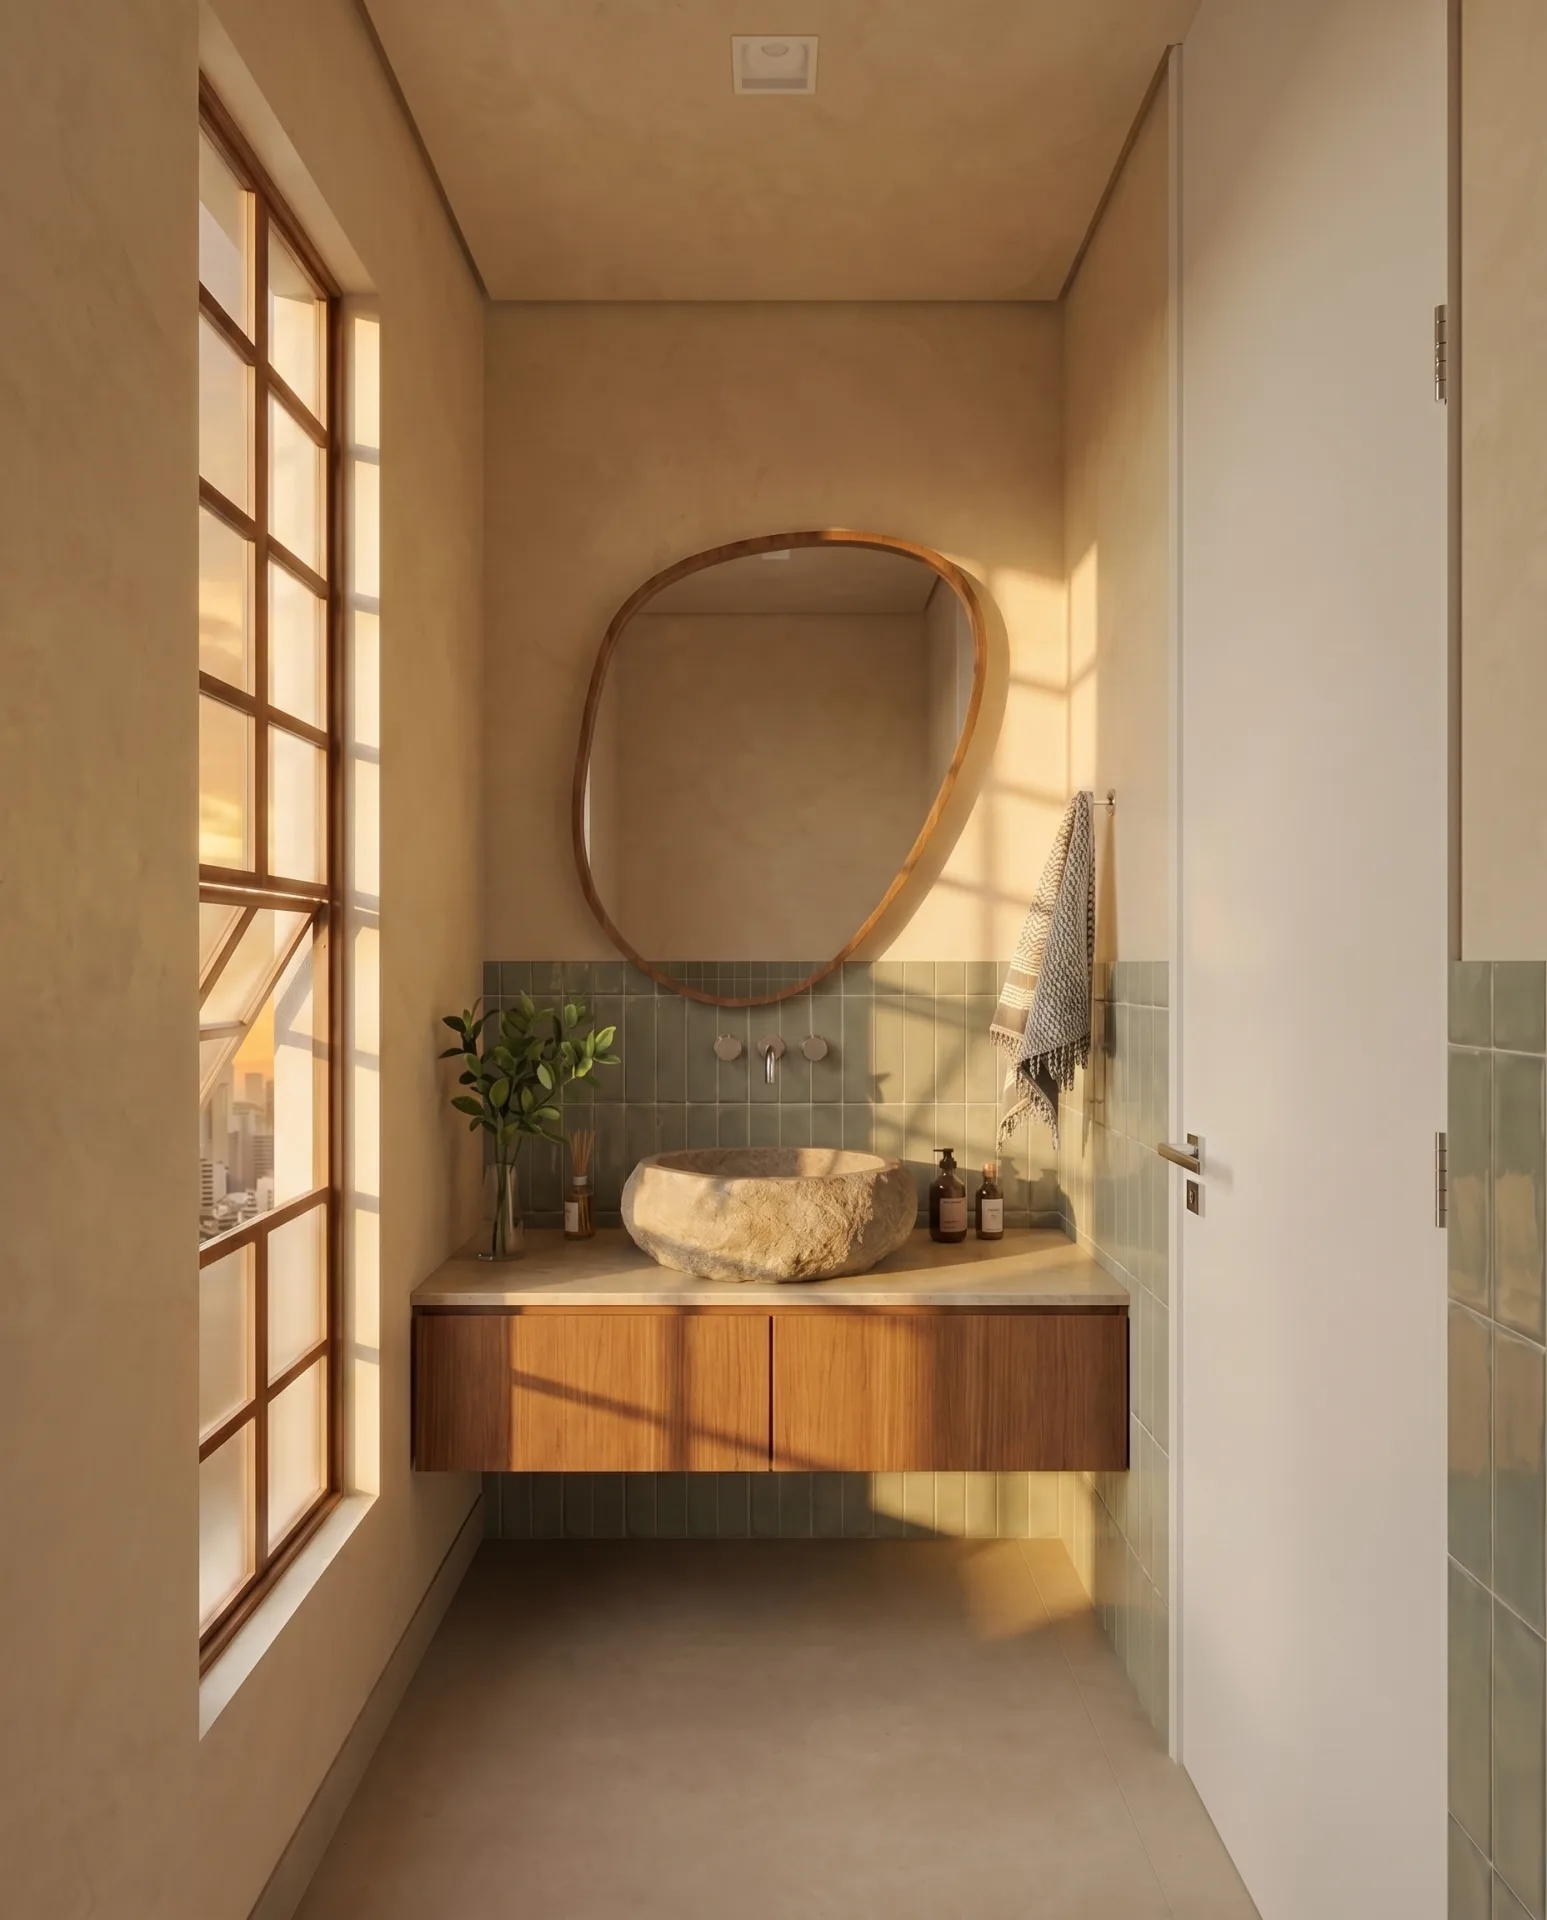
Explore the examples gallery for mood, population and detail-shot examples. For a specific error, use the render-detail correction guide before choosing enhancement.
What should you inspect closely?
Look at cabinetry reveals, window mullions, tapware and repeating patterns. AI can turn ambiguous pixels into plausible features that were never in the design. Check whether a line became an unintended groove, a texture gained a false joint, or a reflection introduced an extra object. View the image at the size the client will actually receive as well as zoomed in.
Enhancement cannot recover reliable measurements from a raster image or prove a material specification. For construction details, return to the model and drawings. For a print, inspect the final export at the intended physical dimensions before approving it.
Costs and the wider workflow
Follow the cost shown for the selected operation in your account. The 2× Enhance workflow, 4K rendering, Adjust and Detail are distinct operations; do not assume their entitlements or credit costs are interchangeable.
Once the still is approved, it can become the starting point for architectural video. For a view around the room, use the dedicated SketchUp panorama workflow. In both cases, inspect the new output separately rather than assuming the approved still guarantees a correct presentation.