Start by deciding whether the problem is in the design, the source image or the generated result. Correct a wrong model in the modelling application. Correct a localized finish or visual detail with a focused edit. Regenerate from a clearer source when the camera, layout or many fixed elements have drifted.
This guide describes a review method for Maquete’s existing Adjust workflows. Available controls depend on the workflow in your account. It does not promise that a local edit will leave every other pixel unchanged.
Diagnose before spending another credit
| Symptom | What to check first | Next action |
|---|---|---|
| A window moved or disappeared | Is the opening visible and unambiguous in the source? | Correct the source or regenerate, then count openings |
| Timber became stone | Source colours, material boundaries and instructions | Request one explicit material correction |
| Furniture was invented | Whether the area was unfinished or visually ambiguous | Clarify what should occupy the area; inspect the full result |
| Light conflicts with the design | Window direction and intended artificial lights | Adjust lighting while keeping the material brief stable |
| Several rooms or proportions changed | Camera position and completeness of the model capture | Return to the source rather than stacking edits |
| A small texture looks soft | Whether geometry and material choice are already approved | Consider enhancement; inspect at delivery size |
Keep a baseline image
Save the source view and the result you are correcting. Name the revision and record the one change you intend to make. This gives you a useful comparison after generation and prevents a sequence of small edits from drifting away from the approved design.
Ask for one concrete correction
“Change only the cabinet door finish to warm oak; retain the cabinet layout, handles, stone worktop and camera composition” is easier to evaluate than “make the kitchen better.” It is still an instruction to a generative system, not a guarantee of exact preservation.
Use the relevant Adjust operation and its guidance. If your interface offers a selection control, include enough surrounding context to identify the boundary. Do not assume that a selection tool is available in every workflow. Read the displayed credit cost before confirming the edit.
Compare the whole image, not only the requested change
Check the corrected area, then scan adjacent surfaces, repeated objects, corners, reflections and background openings. Keep an edit only when the improvement is useful and the rest of the image still represents the model. If it introduces a larger error, return to the saved baseline.
Existing examples: deliberate edits, not error-rate evidence
The public examples gallery includes a powder-room lighting change, a kitchen evening-lighting variant and living-room population edits. These show types of intentional modification. They do not prove a correction success rate and are not a before/after experiment in fixing geometry.
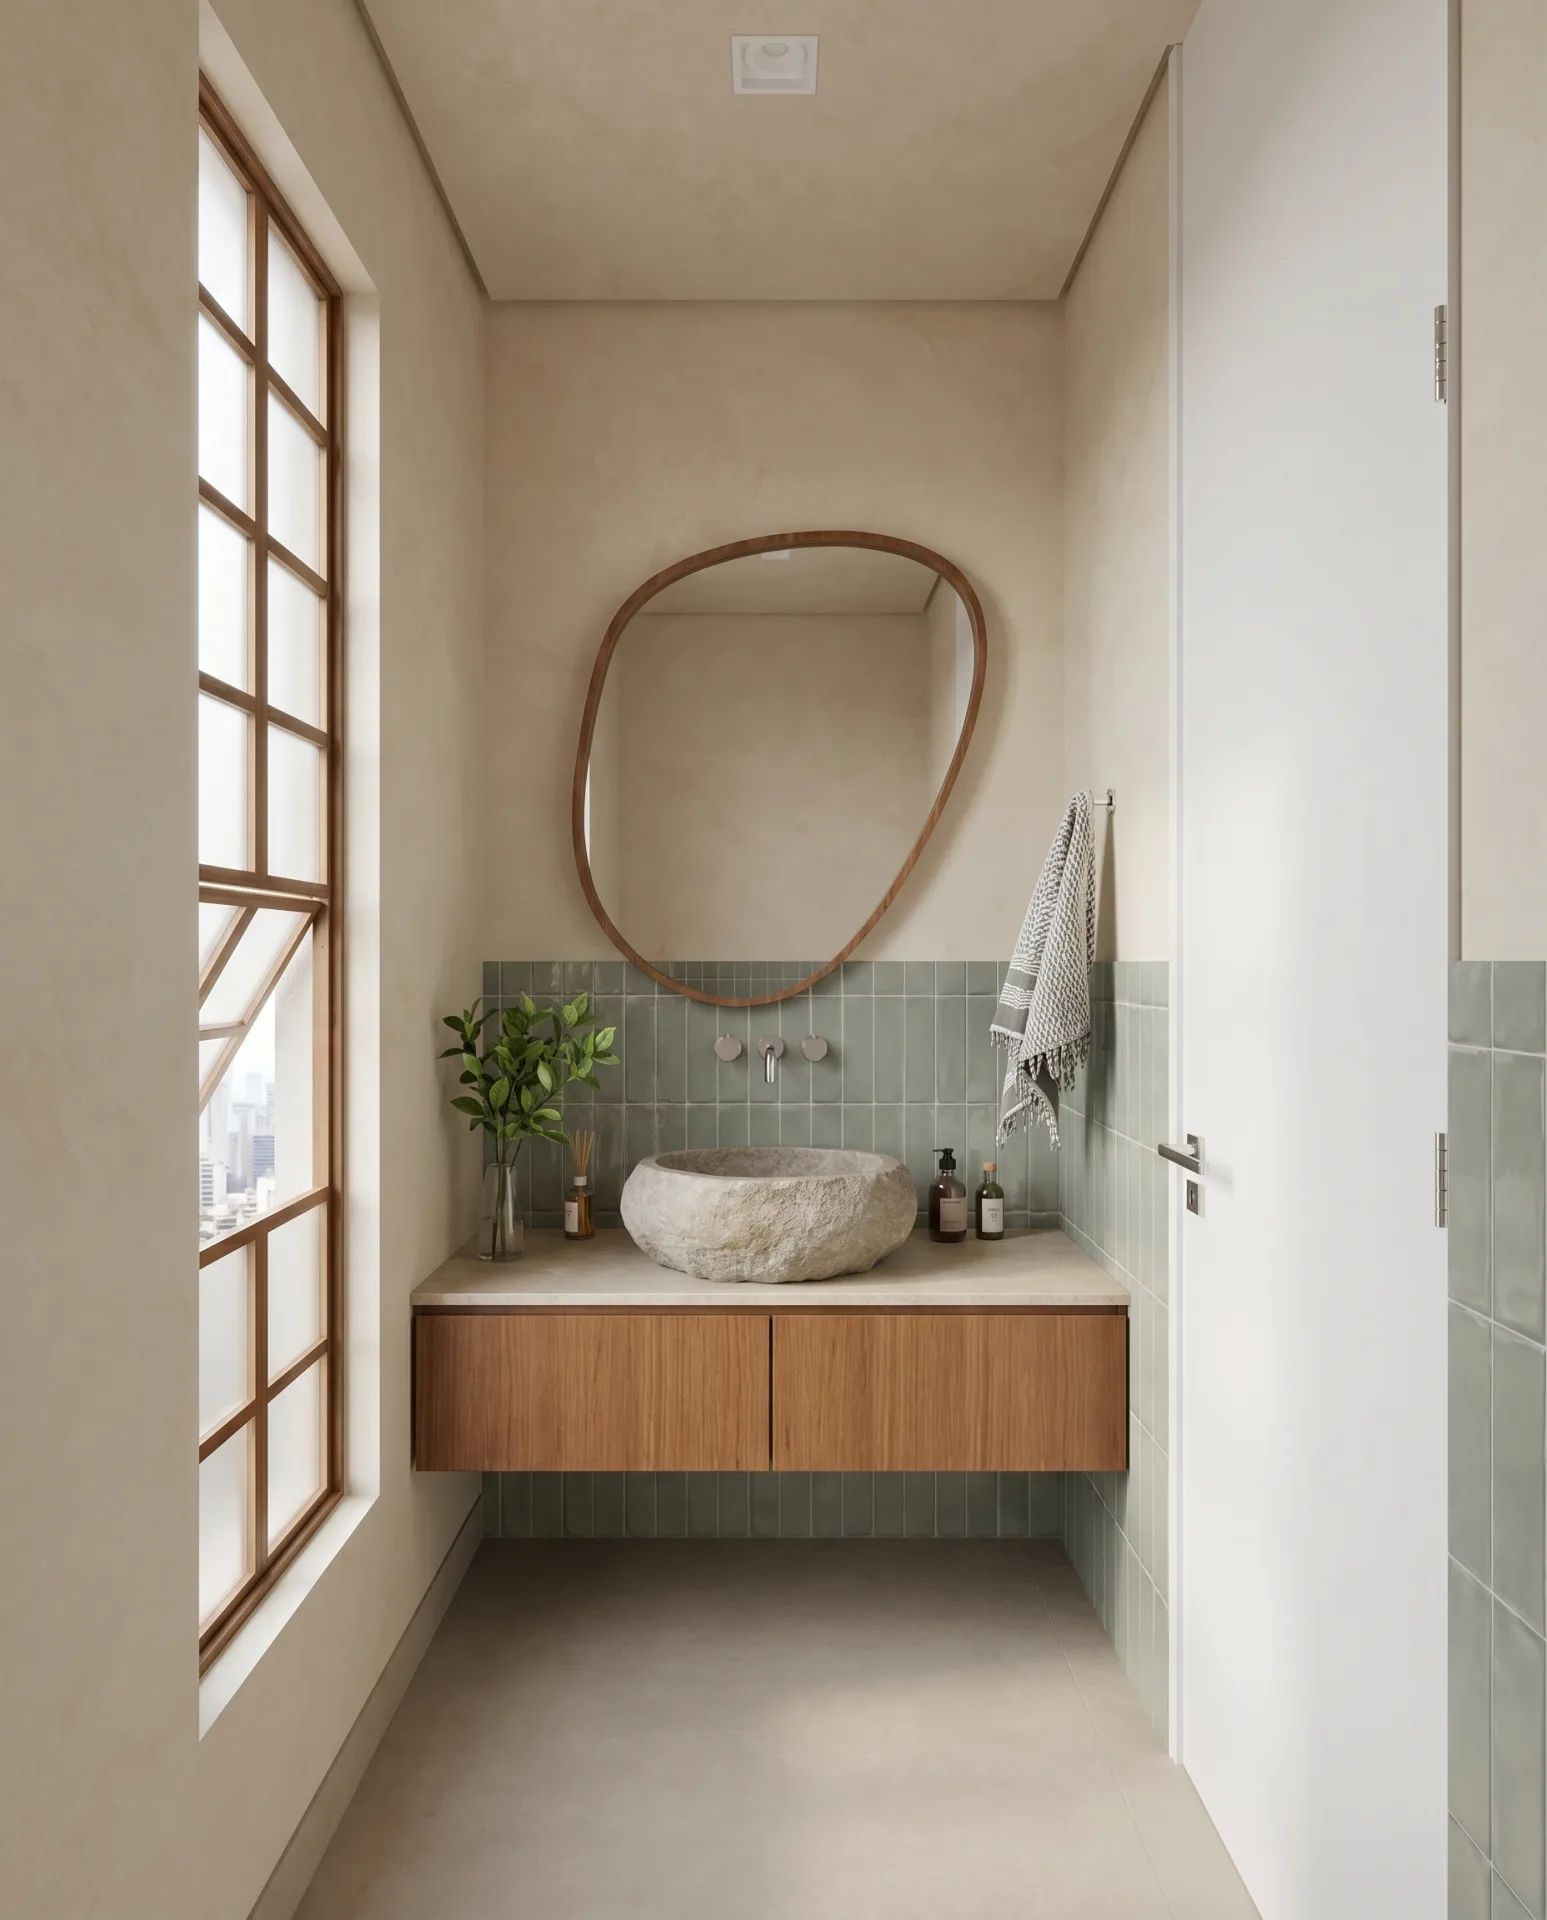
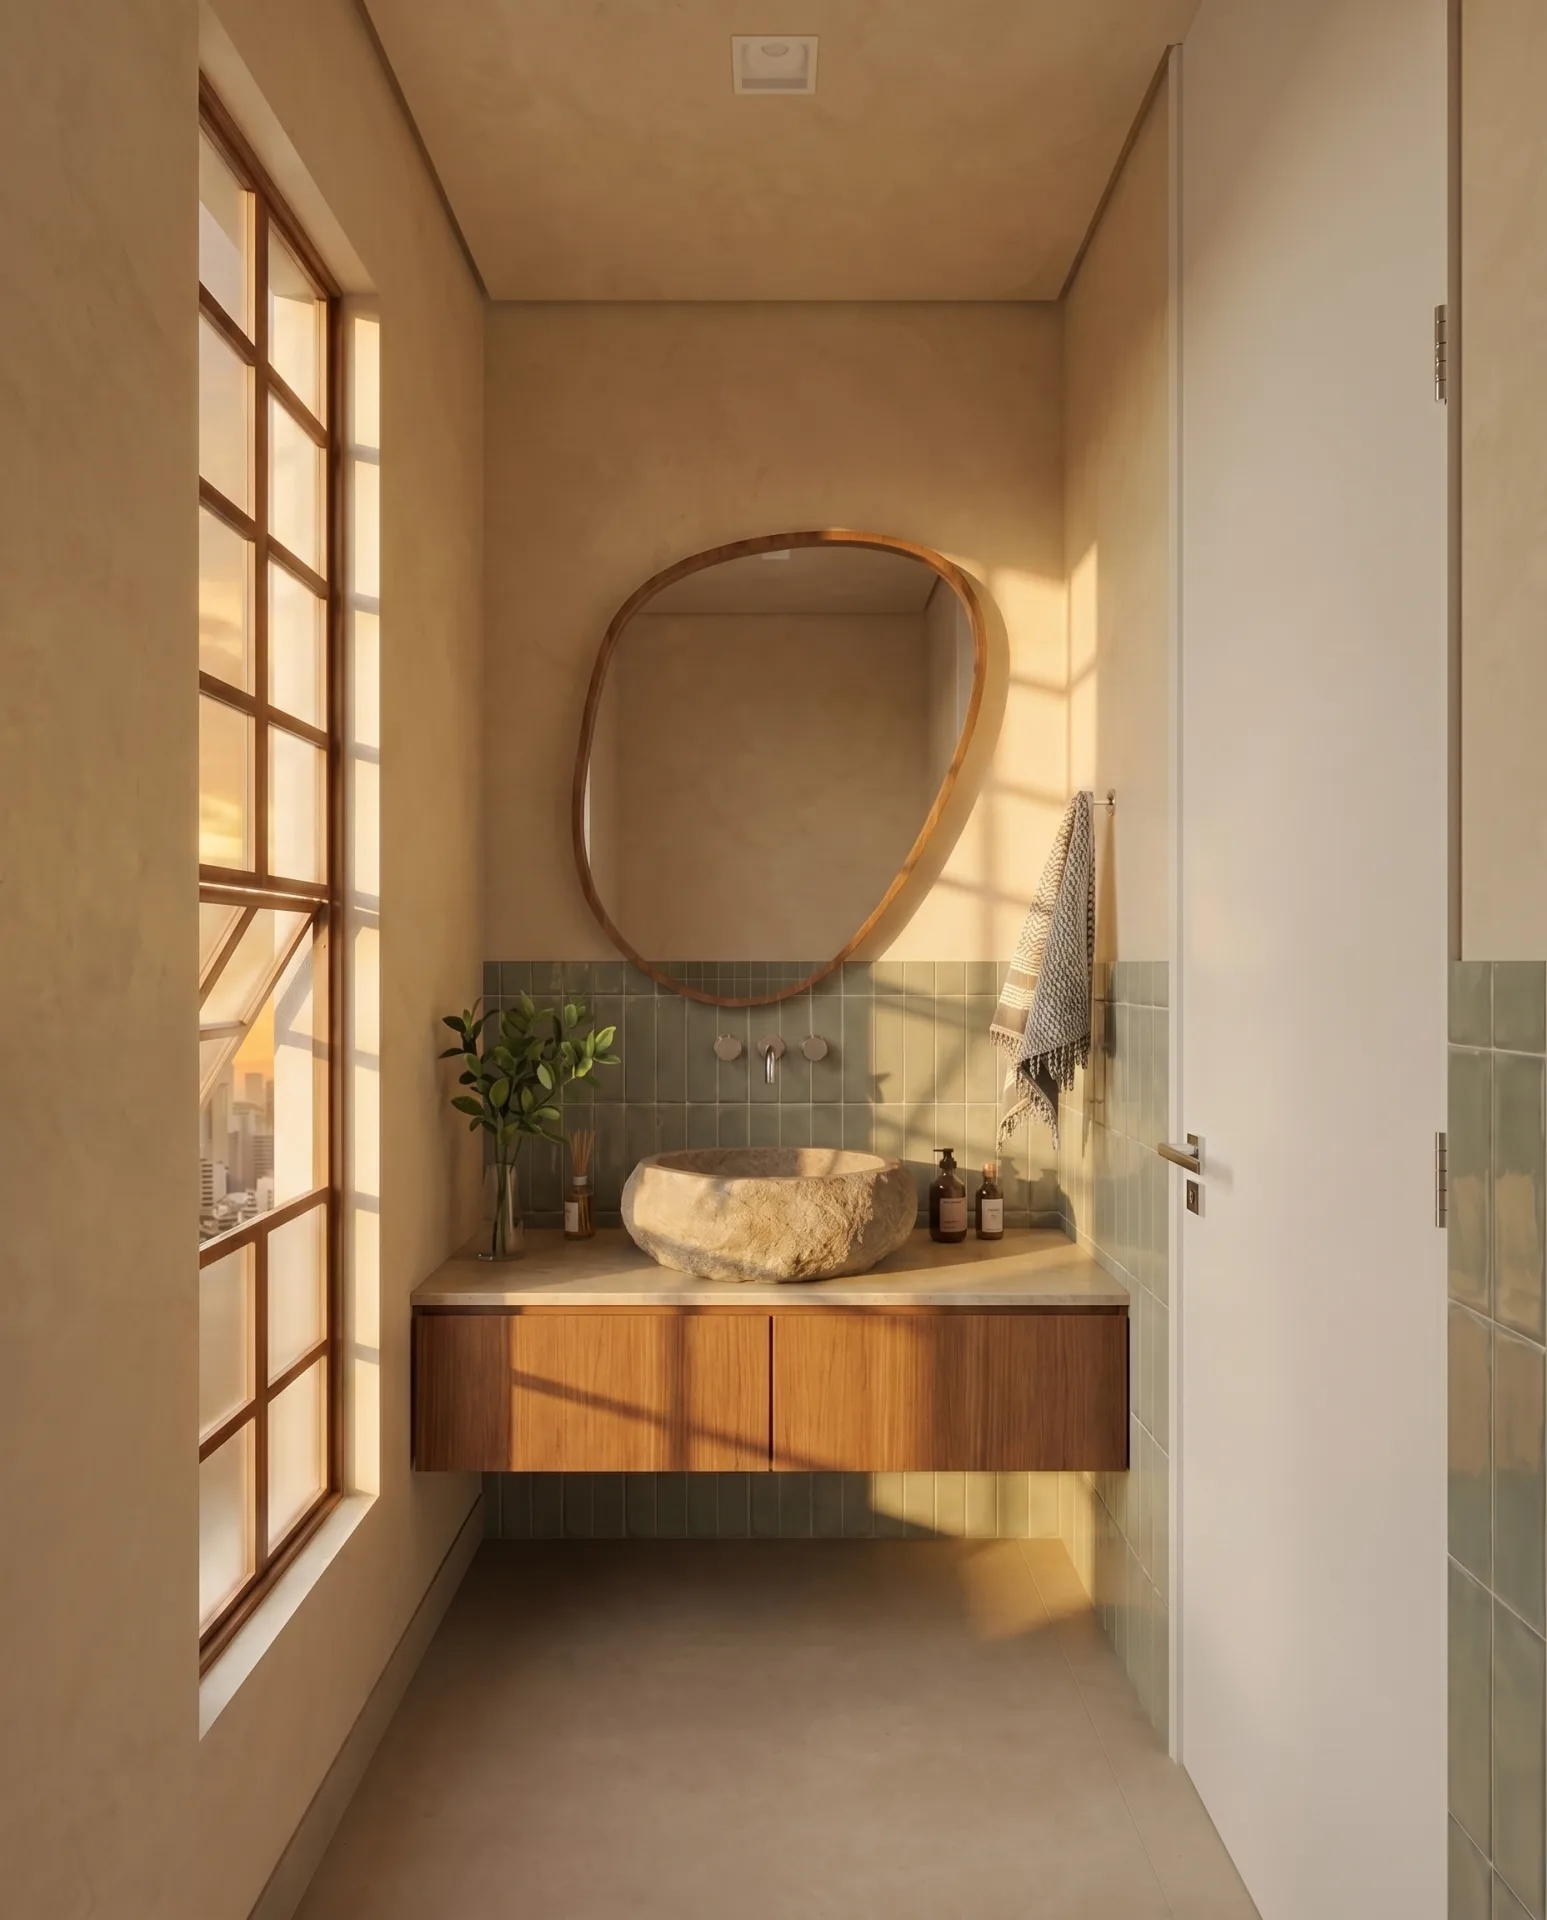
In this pair, review the basin, mirror, wall junctions and light direction. Treat the scene as a visual example of a mood change, not a claim that all details are identical.
When to stop editing
If the model itself changed, capture the revised design. If repeated attempts create new errors, return to a clearer source and simplify the instructions. For a contractual or technical decision, verify the design in the source model and drawing set.
Continue with the geometry review checklist, render enhancement guide or SketchUp workflow.